PDF/X-4 from LuaLaTeX without Ghostscript: TrimBox, BleedBox, FOGRA39, and the pdfx package
My day job is writing software documentation, where a principle I lean on constantly is that correctness belongs in the build, not in a manual step bolted on afterward. A press-ready PDF is a long way from software, but the same logic holds. A print shop expects a PDF/X-4 file: correct TrimBox and BleedBox geometry, a FOGRA39 OutputIntent, CMYK-only color, and embedded XMP metadata. The usual way to get there from a LaTeX project is to build a standard PDF and then run it through Ghostscript to bolt on compliance after the fact.
This post takes the other route: producing the compliant file directly from LuaLaTeX with the pdfx package, so that the properties a shop verifies are built into the document rather than added by a separate step that can quietly change it.
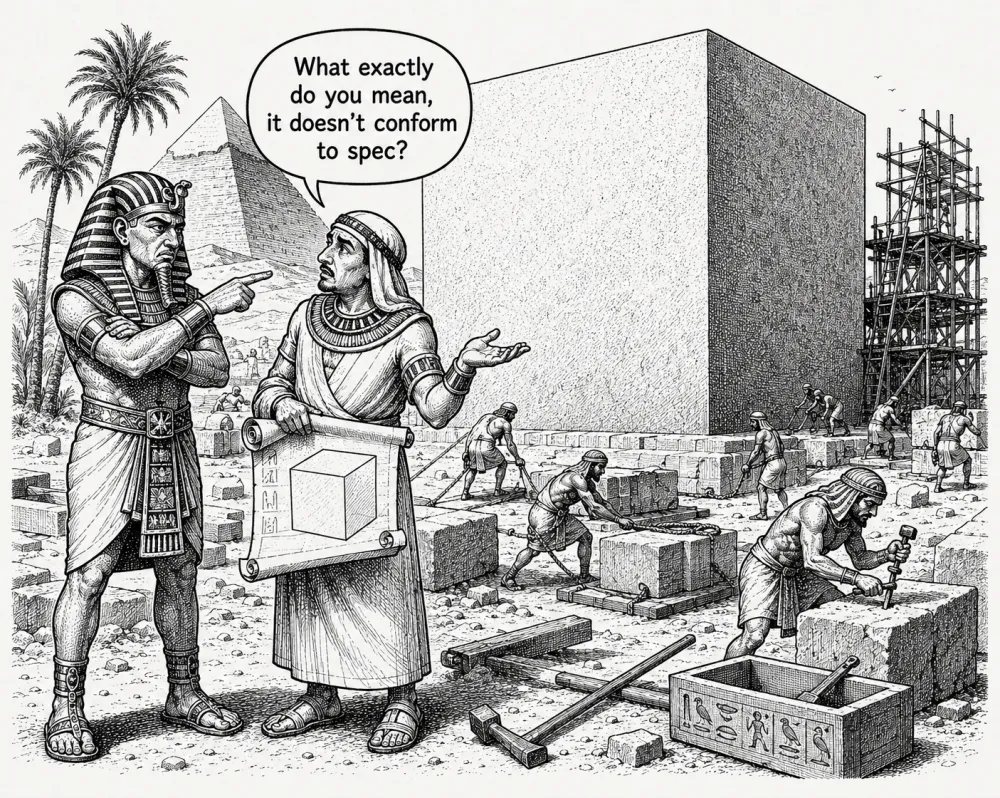
Why Ghostscript is the wrong tool for this job
The conventional path to a PDF/X-compliant press file from a LaTeX project runs through Ghostscript: produce a standard PDF, then post-process it with gs -dPDFX. This works, but it introduces a dependency. And more importantly, it treats compliance as a post-processing step rather than a property of the build.
Post-processing with Ghostscript can change page geometry, re-embed fonts, and alter color values in ways that are hard to predict and hard to verify without running a full preflight on the output. It’s also a separate tool with its own version constraints, its own failure modes, and its own place in the dependency chain.
The alternative is to produce a compliant file directly from LuaLaTeX, using the pdfx package. No post-processing. No Ghostscript. The compliance is built into the build.
Ghostscript treats compliance as a post-processing step that can silently alter the file; the pdfx path makes compliance a property of the build, verifiable by inspecting the build rather than trusting a step that ran after it. (Skipping Ghostscript isn’t the same as validating conformance: that still wants veraPDF.)
The pdfx package
Loading pdfx with the x-4 option is what turns a standard LuaLaTeX output into a PDF/X-4 file:
\usepackage[x-4]{pdfx} % reads planning.xmpdataThe package does three things:
- Attaches an OutputIntent pointing to the embedded ICC color profile
- Embeds the FOGRA39 ICC profile in the PDF’s output intent dictionary
- Enforces the PDF/X-4 constraints that LuaLaTeX cannot enforce on its own (no encryption, no JavaScript, no transparency that isn’t PDF/X-4-legal)
It also reads XMP metadata from a companion .xmpdata file with the same base name as the .tex file. The metadata is embedded in the PDF’s XMP stream, required by PDF/X-4:
\Title{Planning 2025--2026}
\Author{Example Association}
\Copyright{Example Association}
\Keywords{planning\sep calendrier\sep sessions}
\Publisher{Example Association}
The pdfx package handles the OutputIntent embedding. It doesn’t convert colors. Color conversion is entirely upstream of LaTeX: images in Python before the build, vector colors in YAML before code generation. By the time LuaLaTeX runs, every color in the document is already CMYK.
Box geometry
A PDF/X-4 file must carry correct TrimBox and BleedBox entries. In LuaLaTeX, these are set via \pdfextension pageattr (the LuaLaTeX equivalent of pdfLaTeX’s \pdfpageattr):
% A3 landscape + 2 mm bleed
% BleedBox = MediaBox = 424 × 301 mm = 1201.89 × 853.23 pt
% TrimBox  = A3 inset 2 mm → 5.669 pt each side
\pdfextension pageattr{%
  /TrimBox  [5.669 5.669 1196.22 847.56]%
  /BleedBox [0     0     1201.89 853.23]%
}
The arithmetic behind these values:
- A3 landscape is 420 × 297 mm.
- 2 mm bleed on each side extends the page to 424 × 301 mm.
- Points are the PDF coordinate unit: 1 pt = 25.4/72 mm, so 1 mm = 72/25.4 ≈ 2.8346 pt.
- BleedBox covers the full extended page: 424 × 2.8346 ≈ 1201.89 pt wide, 301 × 2.8346 ≈ 853.23 pt tall.
- TrimBox is inset by 2 mm = 5.669 pt on each side from the BleedBox, leaving a box from (5.669, 5.669) to (1196.22, 847.56).
These values go into the PDF’s page dictionary. When the print shop’s RIP or imposition software reads the file, it finds the TrimBox (the intended finished size) and the BleedBox (the extent of the content including bleed). Trim marks are derived from the TrimBox. Content that must survive trimming must sit within it; content that must bleed off the edge must reach the BleedBox.
The A4 scaling post covers what goes wrong when you ask a print shop to scale an A5 file rather than generating A4 natively. The same logic applies to TrimBox and BleedBox: if these entries don’t match the physical dimensions of the document as the press will handle it, the file is wrong regardless of how it looks on screen.
CMYK-only color discipline
PDF/X-4 does not prohibit RGB, but most print workflows expect CMYK. More importantly, RGB-to-CMYK conversion at the RIP is unpredictable: different printers apply different profiles, and the results can diverge significantly from what you see on screen.
The correct approach is to convert all colors upstream:
- Images: converted from RGB to CMYK in Python using the FOGRA39 ICC profile before LaTeX runs. See the RGB→CMYK in Python post for the implementation.
- Vector colors: defined as
cmyktuples inlayout.yaml, exported by the generator as\definecolorcommands using LaTeX’scmykcolor model. NoDeviceRGBcall reaches the PDF.
# layout.yaml
colors:
  immersion:   [0.0, 0.45, 0.85, 0.05]   # CMYK
  maintenance: [0.15, 0.0, 0.55, 0.0]    # CMYK
  header:      [0.0, 0.0, 0.0, 1.0]      # black
The generator reads these and writes them into planning_meta.tex:
\definecolor{immersion}{cmyk}{0.0, 0.45, 0.85, 0.05}
\definecolor{maintenance}{cmyk}{0.15, 0.0, 0.55, 0.0}
\definecolor{header}{cmyk}{0.0, 0.0, 0.0, 1.0}
planning-shared.tex uses only these named colors. No hardcoded color values appear in the LaTeX source. Changing a color means changing the YAML and rebuilding. The change propagates to all three language editions automatically.
What the preflight verifies
The automated preflight that runs after the build checks the OutputIntent, PDF version, encryption, and color space independently of pdfx’s own enforcement. This isn’t redundant: it’s defense in depth. The preflight checks what’s actually in the file, not what the build intended to put there. See the preflight post for the implementation.
The print shop will run its own preflight. The automated checks are there to catch failures before the file leaves the build environment (when fixing them is cheap) rather than after the file has been submitted, when fixing them costs time, the print run, or both.
Post-processing without Ghostscript
For formats compiled with XeLaTeX (such as large planning posters), the pipeline handles post-processing without invoking a general-purpose distiller. The Python post-processor (make_print.py) chains dedicated tools:
- Selective downsampling:
PyMuPDFcalculates effective resolution at placed dimensions;Pillowdownsamples images exceeding 300 dpi while strictly avoiding upsampling lower-resolution assets. - Alpha channel preservation: Transparent PNG alpha masks (SMask) are preserved rather than flattened into opaque backgrounds.
- Box geometry and linearization:
pikepdfsets PDF 1.4, TrimBox, and BleedBox parameters;qpdflinearizes the file for fast web delivery.
One precision worth stating plainly, because “without Ghostscript” can be misread as “without verification”: building the file with pdfx and running the six-check preflight is not the same as validating PDF/X-4 conformance. The homegrown checks confirm the handful of properties a shop usually rejects files over: boxes, embedding, color space, resolution, OutputIntent, version. They do not test the full PDF/X-4 standard. The authoritative test is a real conformance validator (veraPDF is the open-source one), and it belongs in the build for any file where conformance actually matters, slotted in as the extension point the preflight already exposes. Skipping Ghostscript removes a post-processing step that can silently change the file; it doesn’t remove the need to verify the result against the spec.
Summing up
PDF/X-4 from LuaLaTeX without Ghostscript requires three things:
- The
pdfxpackage with thex-4option and a.xmpdatacompanion file - Explicit TrimBox and BleedBox values via
\pdfextension pageattr, with coordinates calculated in points from the physical dimensions and bleed - All colors in CMYK before LaTeX runs: images converted in Python, vector colors defined as
cmyktuples in YAML
The result is a file that passes commercial preflight without post-processing, and whose compliance is verifiable by inspecting the build rather than by trusting a post-processing step that may have changed the file in ways the build didn’t intend.
External sources
- pdfx: the package producing PDF/X-4
- The PDF/X-4 standard
- veraPDF: authoritative PDF/X conformance validator
Related posts

Follow on LinkedIn for more
Articles on docs-as-code, DITA XML, YAML, and AI-assisted documentation.